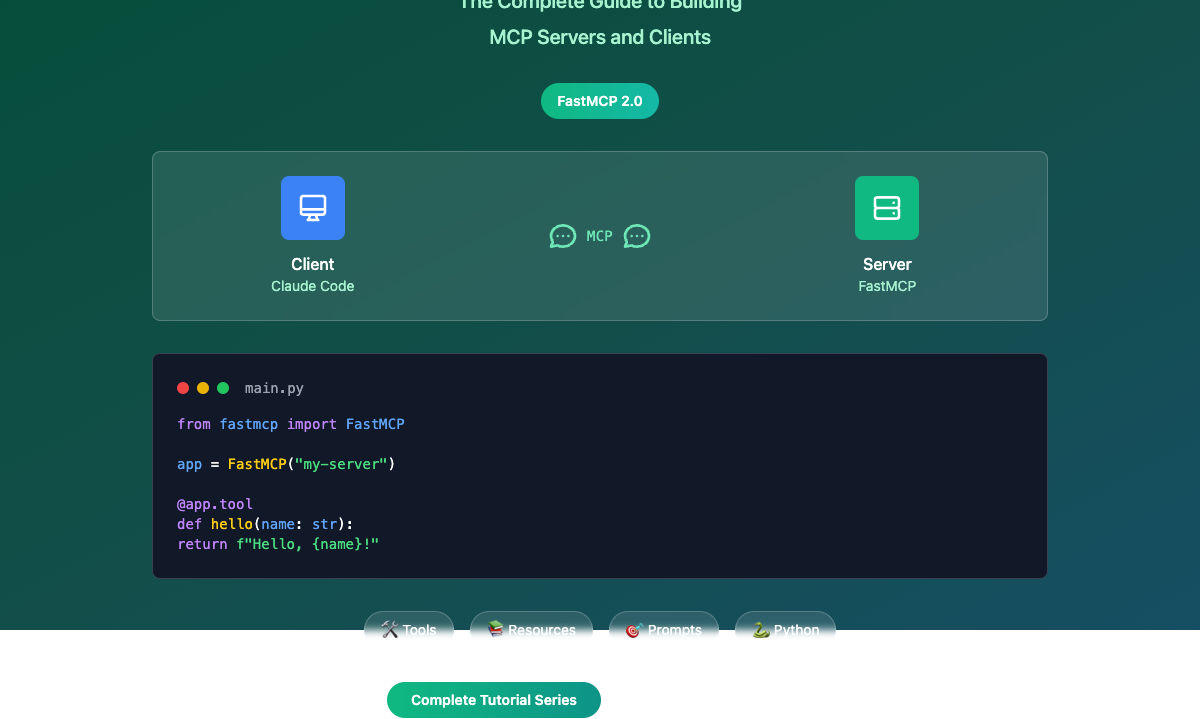
Installing and Setting Up FastMCP
Installing and Setting Up FastMCP
Prerequisites
Before installing FastMCP, ensure you have:
- Python 3.10+: FastMCP requires Python 3.10 or higher
- Package Manager: We recommend using uv for the best experience, though pip works fine too
Installation Methods
Using uv (Recommended)
The fastest and most reliable way to install FastMCP:
uv pip install fastmcp
Using pip
If you prefer pip:
pip install fastmcp
Development Installation
For development work or to get the latest features:
# Clone the repository
git clone https://github.com/jlowin/fastmcp.git
cd fastmcp

# Create and sync the environment with uv
uv sync

# Or use pip in a virtual environment
python -m venv venv
source venv/bin/activate  # On Windows: venv\Scripts\activate
pip install -e .
Verifying Installation
Test your installation by creating a simple server:
# test_install.py
from fastmcp import FastMCP

mcp = FastMCP("Test Server")

@mcp.tool
def hello() -> str:
    """Say hello."""
    return "Hello from FastMCP!"

if __name__ == "__main__":
    print("FastMCP installed successfully!")
    print(f"Server name: {mcp.name}")
    # Uncomment to run the server
    # mcp.run()
Run the test:
python test_install.py
You should see:
FastMCP installed successfully!
Server name: Test Server
Project Structure
For a typical FastMCP project, we recommend this structure:
my-mcp-project/
├── server.py          # Main server file
├── tools/             # Tool implementations
│   ├── __init__.py
│   ├── math_tools.py
│   └── data_tools.py
├── resources/         # Resource implementations
│   ├── __init__.py
│   └── config.py
├── tests/            # Test files
│   └── test_server.py
├── requirements.txt   # Dependencies
└── README.md         # Project documentation
Environment Configuration
FastMCP supports configuration via environment variables:
# .env file
FASTMCP_LOG_LEVEL=DEBUG
FASTMCP_MASK_ERROR_DETAILS=False
FASTMCP_RESOURCE_PREFIX_FORMAT=path
Common environment variables:
FASTMCP_LOG_LEVEL: Set logging level (DEBUG, INFO, WARNING, ERROR, CRITICAL)FASTMCP_MASK_ERROR_DETAILS: Hide detailed error information from clientsFASTMCP_RESOURCE_PREFIX_FORMAT: How to format resource prefixes ("path" or "protocol")
Your First FastMCP Server
Let's create a complete example server:
# server.py
import random
from datetime import datetime
from fastmcp import FastMCP

# Create server with configuration
mcp = FastMCP(
    name="My First MCP Server",
    instructions="""
    This server provides basic utilities including:
    - Mathematical operations
    - Random number generation
    - Current time information
    """
)

@mcp.tool
def add_numbers(a: float, b: float) -> float:
    """Add two numbers together."""
    return a + b

@mcp.tool
def roll_dice(sides: int = 6, count: int = 1) -> list[int]:
    """Roll dice with specified number of sides."""
    if count > 10:
        raise ValueError("Maximum 10 dice allowed")
    return [random.randint(1, sides) for _ in range(count)]

@mcp.resource("time://current")
def get_current_time() -> str:
    """Get the current date and time."""
    return datetime.now().isoformat()

@mcp.resource("config://server")
def get_server_config() -> dict:
    """Get server configuration information."""
    return {
        "name": mcp.name,
        "version": "1.0.0",
        "features": ["tools", "resources"],
        "uptime": "Just started"
    }

if __name__ == "__main__":
    print(f"Starting {mcp.name}...")
    mcp.run()
Running Your Server
STDIO Mode (Default)
Perfect for local development and command-line tools:
python server.py
HTTP Mode
Better for web-based clients and development testing:
# In your server.py
if __name__ == "__main__":
    mcp.run(transport="http", host="127.0.0.1", port=8000)
Then run:
python server.py
Your server will be available at http://127.0.0.1:8000/mcp/
Testing Your Installation
Create a simple test client to verify everything works:
# test_client.py
import asyncio
from fastmcp import Client

async def test_server():
    # Test via HTTP (if running in HTTP mode)
    async with Client("http://localhost:8000/mcp/") as client:
        # List available tools
        tools = await client.list_tools()
        print("Available tools:", [tool.name for tool in tools])

        # Call a tool
        result = await client.call_tool("add_numbers", {"a": 5, "b": 3})
        print("5 + 3 =", result.text)

        # Read a resource
        time_resource = await client.read_resource("time://current")
        print("Current time:", time_resource.content)

if __name__ == "__main__":
    asyncio.run(test_server())
Common Installation Issues
ImportError: No module named 'fastmcp'
Make sure FastMCP is installed in the correct Python environment:
# Check which Python you're using
which python
python --version

# Install in the correct environment
python -m pip install fastmcp
Version Conflicts
If upgrading from FastMCP 1.0 or the official MCP SDK:
# Uninstall old versions first
pip uninstall mcp fastmcp

# Install the latest version
pip install fastmcp
Permission Errors
On some systems, you might need:
# Use --user flag
pip install --user fastmcp

# Or use uv which handles this better
uv pip install fastmcp
Next Steps
Now that FastMCP is installed and running, you're ready to:
- Build Tools: Learn how to create powerful MCP tools
- Add Resources: Expose data sources to your LLM clients
- Connect to Claude Code: Integrate with development environments
- Deploy to Production: Scale your servers for real-world use
In the next section, we'll dive deep into creating sophisticated tools that can handle complex operations and data processing.
